Plastering mortars consist of a special filler and water that are mixed to form a homogeneous consistency. This type of mortars may be fat, normal and lean what they write about on the https://telegram-store.com/catalog/product-category/channels/interior.
Fat composition includes a rather large amount of cement and is used to seal up large cracks. Skinny composition, respectively, has less binders, due to which finishing with this material is not so durable. The most popular are normal mortars, which perfectly combine price and quality.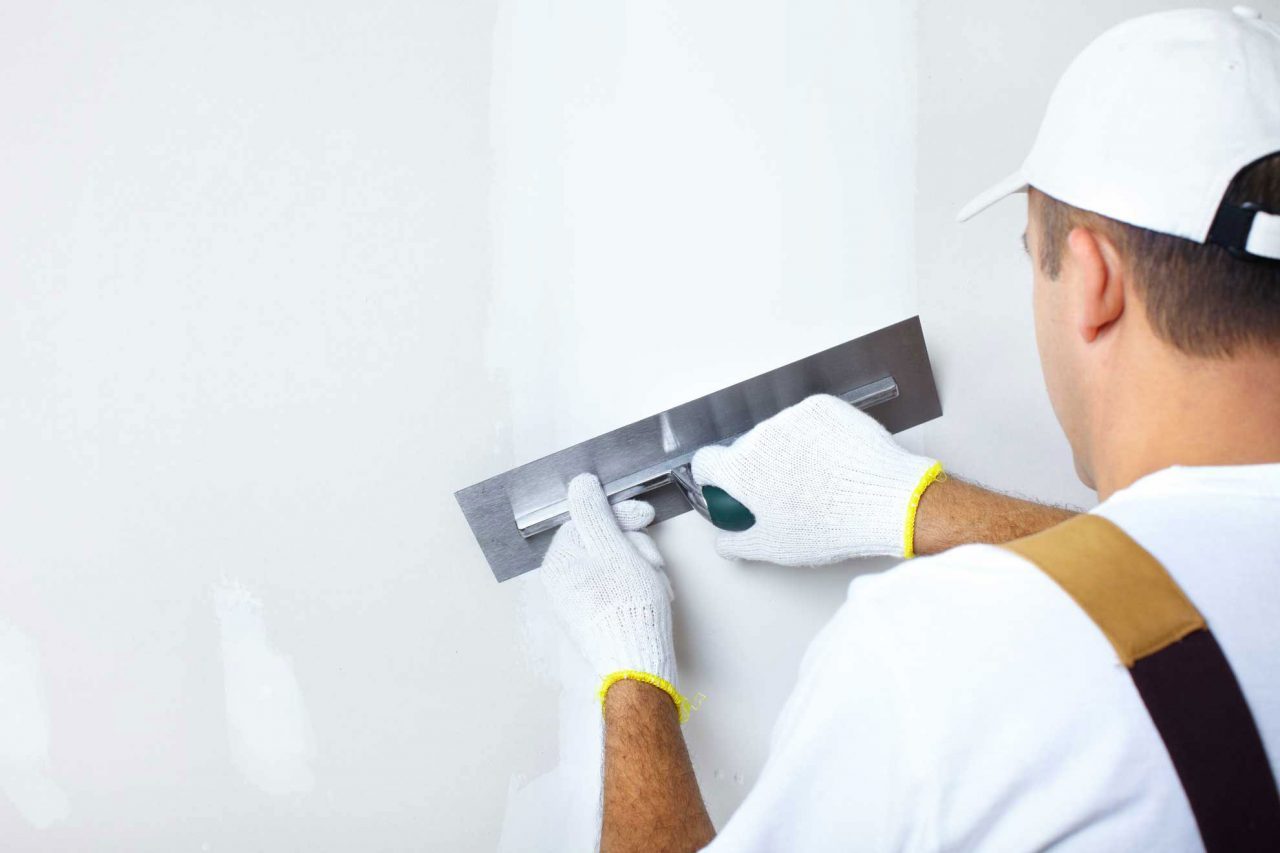
Types of mortars
To finish the internal surfaces of the room, a plaster composition is usually used, which consists of lime, gypsum, cement. For finishing exterior surfaces is used together with cement or with gypsum.
Cement mortar is usually used in rooms with high humidity, the disadvantage is that it takes a long time to dry.
Clay mortar is not strong enough, so it has long lost its popularity. Usually clay is used in combination with cement.
The gypsum mortar dries much faster than cement mortar, which is its undoubted advantage, and it should also be noted that this mixture is easy to apply to the surface. The operation of applying gypsum mixture usually consists of two layers, thanks to which it eliminates all the irregularities of the walls.
When plastering the interior surface, it is necessary to tap the walls with a hammer, completely clean, treat with water, and then apply a plaster layer no less than ten millimeters thick. An iron mesh should be placed on wooden walls in advance to apply plaster material to them.
Applying plaster
Before applying the plastering material, it is necessary to divide the wall into sections with the help of beacons, located vertically in relation to the floor and connect them at the top and bottom with wooden bars. Usually the distance between the slatted beacons is one meter. All this is done to ensure that a layer of plaster is applied evenly to the surface of the wall. It is also possible to use beacons made of a metal base. When the plaster layer applied between the beacons has dried up, you can tear off the first rail and transfer it to a new place, and leave the second rail untouched.
Focusing on the previously applied layer of finishing material, we apply a new layer of similar thickness. And so along the entire wall. For the adhesion of plaster to the wall was qualitative, it is necessary to scratch the walls with a nail in advance, and also do not forget that it is necessary to apply two layers of finishing material.
Left-handed people need to work from right to left, and right-handed people – vice versa. After the first layer it is smoothed with a rule, and then apply a second layer and smoothed again. Then it is necessary to splash water on the prepared surface and finally smooth it out with a trowel. When the wall is completely hardened, it is necessary to grout it well, and then splash water on it again. The result will be a smooth and even work.
Applying primer
This will require special tools: a trowel, a falcon. At first the mortar is dialed on the trowel, which should be kept in a horizontal position, after which the trowel is moved to the mortar, and the trowel is overturned. Thus the mixture is on the trowel. This operation is repeated several times to stir the mortar. During the application of mortar on the wall trowel brought to the wall at an angle, leaving a gap of 5 mm and lead upwards. When applying a priming coat, it is not necessary for the surface to be flat, as a finishing layer will be applied.
This layer should be applied after the hardening of the first layer. Tools used are the same (falcon, trowel). When the finishing layer is applied, it is necessary to spray the surface with water and finally level it with a trowel. After the finishing layer, you can choose wallpapering options.